This is the multi-page printable view of this section. .
Getting started
Last updated:
Follow this path for your first installation and conversation. Read “What is AGW?” to understand its uses, or go straight to your first conversation if Server is already connected.
- What is AGW?: learn what it does and where tasks run.
- Install and configure Server: choose a package, initialize, and connect a client.
- Start your first conversation: configure a model and agent, then test a continuing conversation.
Use Core concepts to look up unfamiliar terms.
1 - What is AGW?
Last updated:
AGW is a self-hosted agent workspace for individuals and small engineering teams. It can also serve as an agent gateway. A shared interface brings together custom agents and external agents such as Claude Code, Codex, and Pi, with conversations and execution records organized around projects.
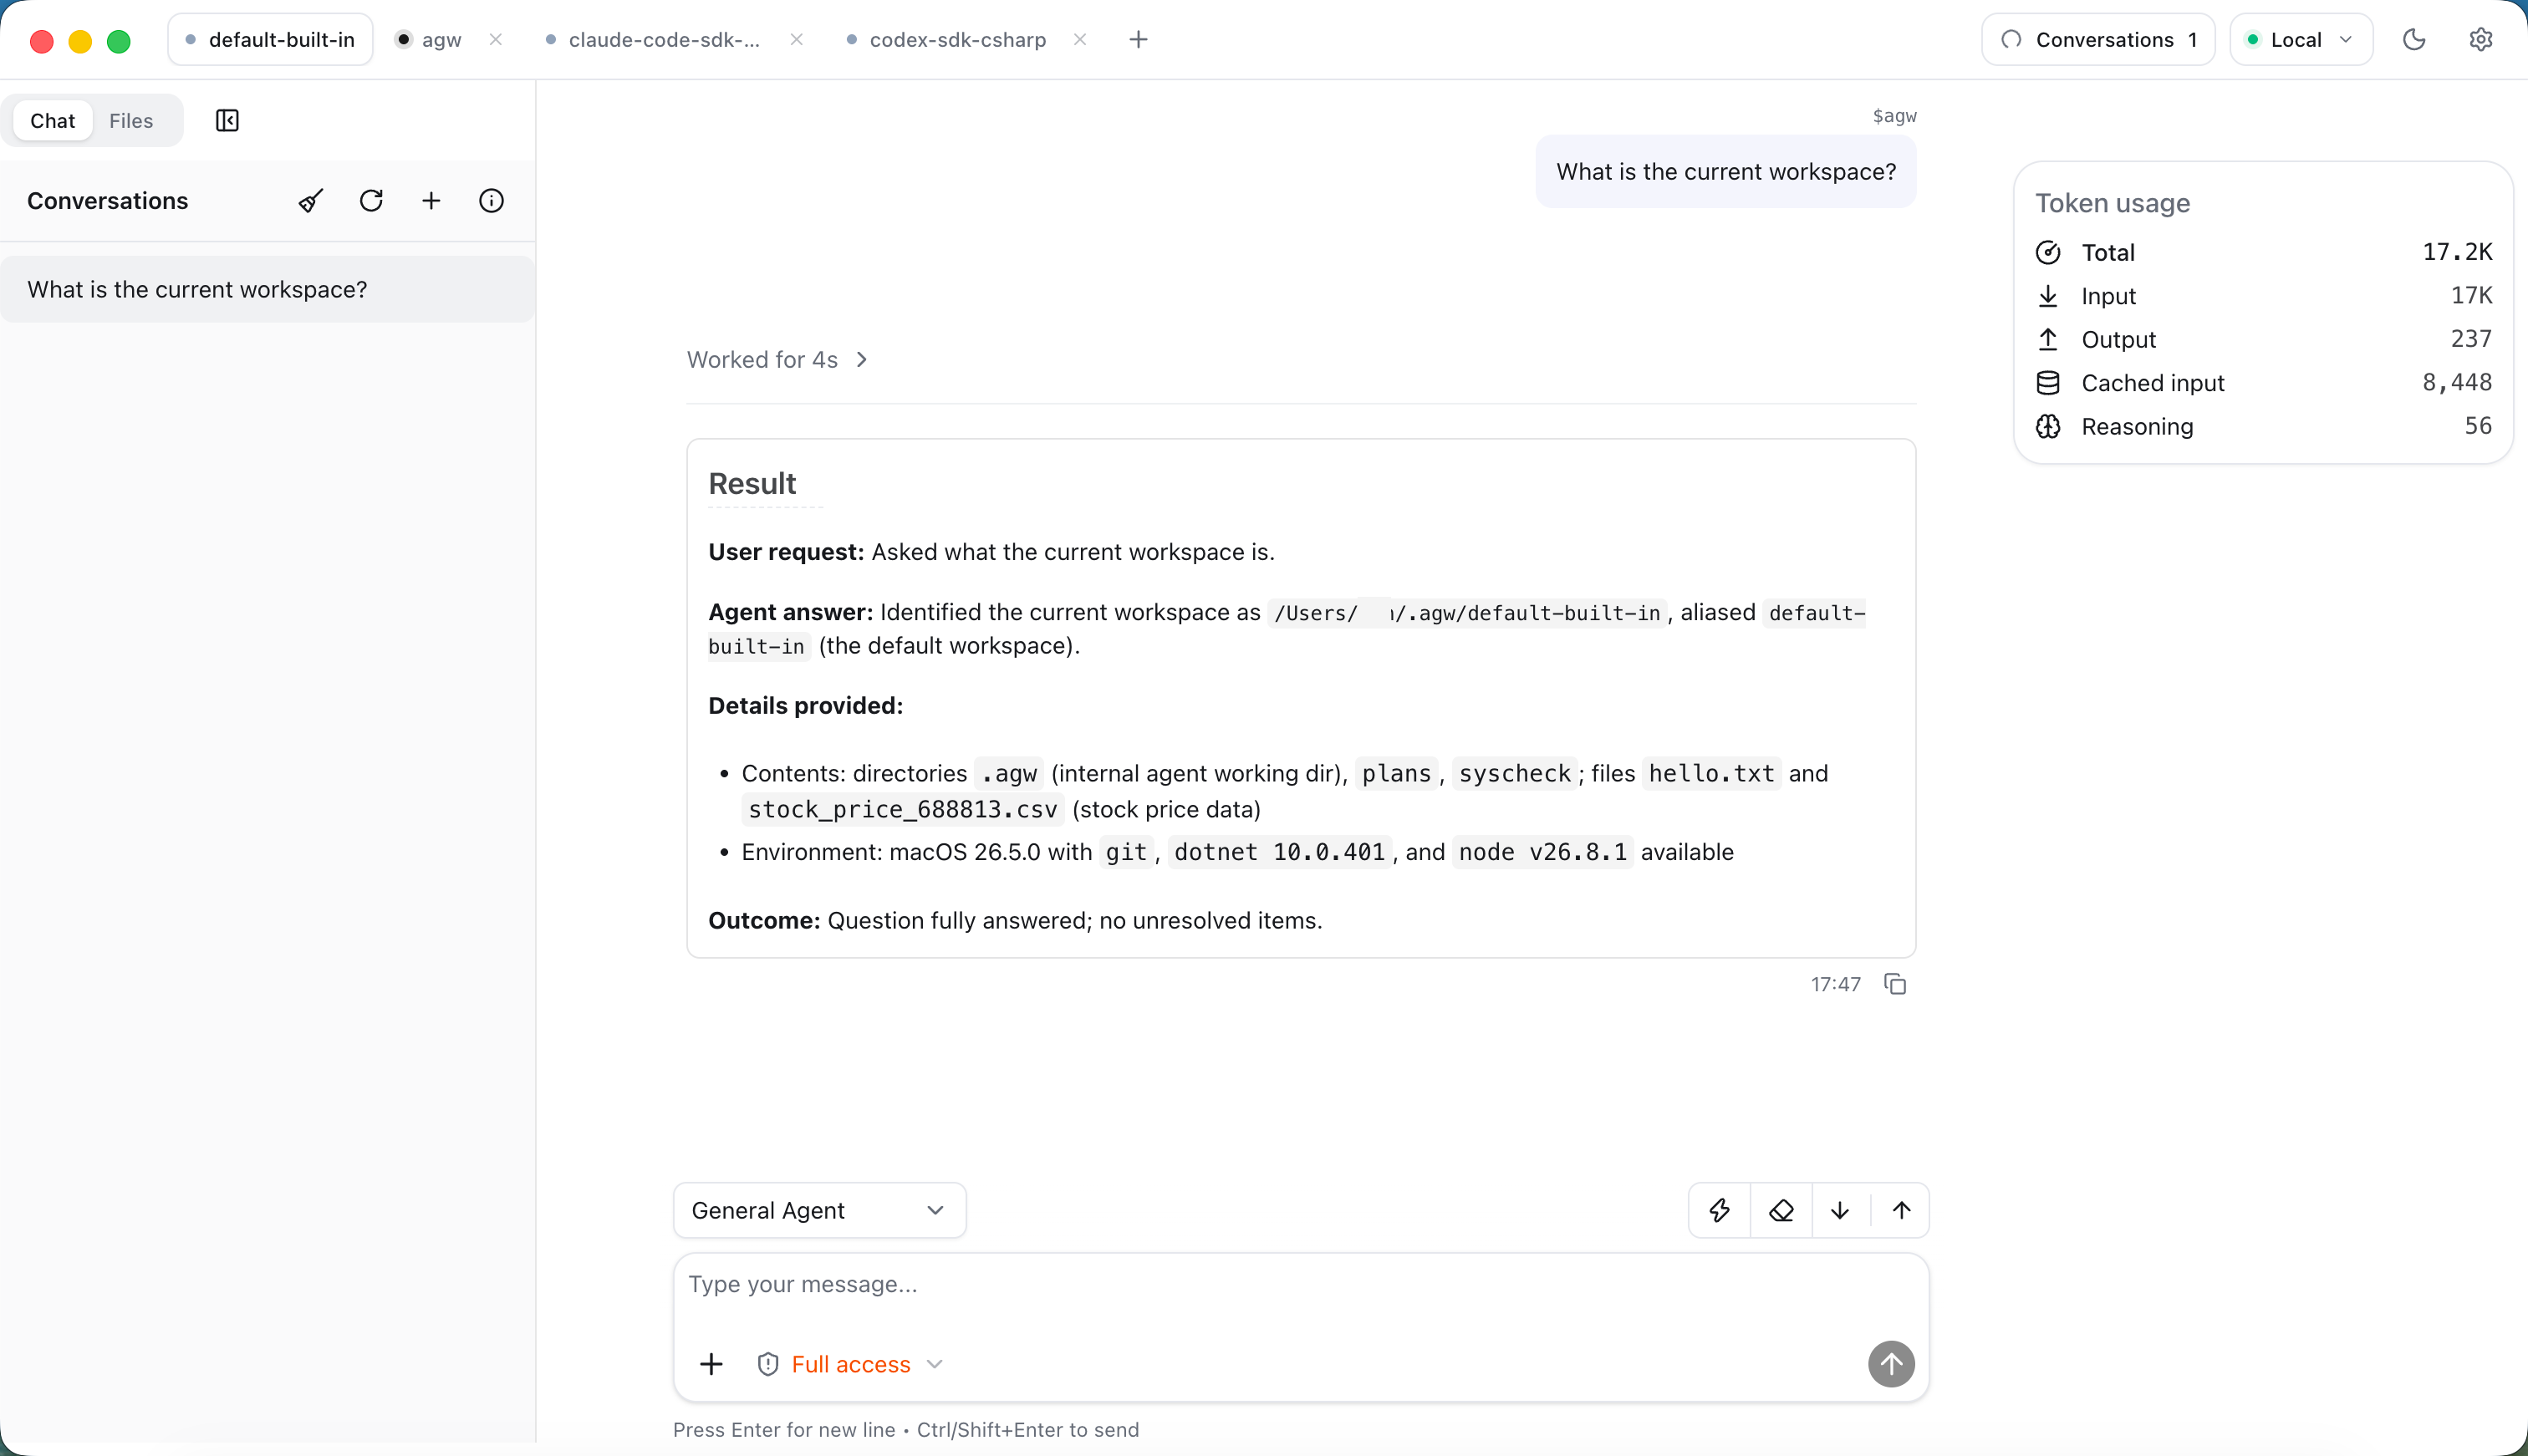
Core concepts
| Concept | Purpose |
|---|---|
| Model Provider | Connect a provider and model into a usable model configuration |
| Agent | Configure instructions, a model, and capabilities, or connect an external agent |
| Project | A task space containing working directories, context, and conversations |
| Chat | Start interactive execution, inspect messages and tool activity, and answer human input requests |
| Agentflow | Connect nodes into an executable workflow |
| Job | Trigger an agent or agentflow once, at an interval, or on a Cron schedule |
See Core concepts for the distinctions and how they work together.
What you can do with AGW
For a code project, ask one agent to explain unfamiliar code, then ask another to review a change. The Project’s conversations retain the discussion and results. Once a task works manually, schedule recurring work such as a weekly progress summary.
| Need | Where to start |
|---|---|
| Ask a question or edit a passage | Create an agent and send the task in Chat |
| Read or change project files | Set a Project workspace and configure the necessary tools |
| Continue with a different agent | Switch agents in the same conversation and describe the next task |
| Follow a repeatable sequence | Connect steps in an Agentflow, adding human confirmation where needed |
| Repeat work on a schedule | Create a Job and inspect the outcome of each run |
Where tasks run
Server is the program that runs AGW. Web, Desktop, and Mobile are clients used to operate it. When connected to a remote Server, agents use files, commands, and tools on that host. Opening a conversation on a phone does not move execution to the phone.
For a first local installation, Desktop Full includes Server. For browser access, deploy Docker or Portable Server. Configure a model service separately; using a remote model sends model input outside the AGW host.
Choose a deployment
Standalone runs management, conversations, and scheduled jobs in one Server. It uses SQLite by default and suits local use or a single host.
Split Control/Data Plane deployment assigns management and scheduling to Control Plane and execution to Data Plane. It supports separate service deployment and additional execution nodes, but requires shared PostgreSQL, keys, workspaces, and request routing.
Start with Standalone for a simple setup. See Installation for packages, or Split deployment for deployment and routing details.
Start with a small task
- Install and configure Server and initialize the server.
- Configure one working model and create an agent.
- Send a simple question in Chat to verify the model and execution path.
- Add a Project for files, an Agentflow for fixed steps, and a Job for recurring work when needed.
Execution records live in your server database. Self-hosting does not mean inference always stays on your computer: selecting a remote model provider sends requests to that provider.
Current boundaries
AGW is pre-1.0. It suits clearly defined tasks and human-agent collaboration. Complex work still needs clear inputs, completion criteria, and human review. Authentication uses an administrator login, third-party account sign-in, and API Keys; roles and per-key permission scopes are not available.
Implementation and references
2 - Core concepts
Last updated:
In AGW, models provide reasoning, agents organize instructions and capabilities, and Projects provide a workspace. Use Chat to interact with an agent, Agentflows to orchestrate steps, and Jobs to schedule execution.
Models and Model Providers
Model configuration has three layers:
| Concept | What it describes |
|---|---|
| Provider | The model service protocol, endpoint, and authentication |
| Model | The model identifier, context window, maximum output, and other specifications |
| Model Provider | A link between a model and the service providing it, selectable by an agent |
For example, you can link the same model to different Providers, then choose the actual connection for an agent. See Model providers for configuration.
Agent: the role that performs work
An agent defines who performs a task, which instructions to follow, and which capabilities are available.
- Custom agent: configure a model, instructions, tools, and Skills in AGW, which runs the agent.
- External agent: connect a CLI such as Claude Code, Codex, or Pi using an environment installed and configured on the execution node.
An agent definition can serve many tasks; an execution is the process of handling a particular input. For example, “Code explainer” is an agent, while “Explain this function” is an input. See Create a custom agent and Connect external agents.
Project: the workspace
A Project organizes directories, context, and conversations around a piece of work. For example, a code repository can have a Project with separate conversations for code exploration and troubleshooting.
The primary Workspace is the agent’s default working directory. Additional directories provide access to other server-side paths. Switching directories in the file browser does not change the agent’s default working directory.
These paths must be visible to Server or the execution node. See Projects, files, and workspaces.
Chat, conversations, and execution
Chat is the interaction surface. A conversation holds the context and records of an ongoing exchange. An execution is an agent or agentflow processing input.
You can send multiple messages within a conversation. During execution, inspect replies and tool activity, approve actions, or provide requested information. Losing the page connection does not mean execution has stopped; check its actual state after reconnecting. The icon beside each conversation in the list shows Running, Last turn failed, or Last turn interrupted.
See Chat and execution history.
Agent Capability
A capability is something an agent can use to complete a task. The following concepts describe individual operations, tool groups, task instructions, and ways to connect external services.
Tools
A Tool is one callable operation, such as reading a file or querying a job. An agent calls tools as needed and uses their results to continue working on the task.
ToolBlocks
A ToolBlock groups related tools that must be selected and managed together to keep behavior and state consistent. The block is selected as a whole, while the model invokes its individual tools.
For example, todo groups tools for adding, listing, and completing to-do items. Selecting it makes members such as todos_add, todos_get_all, and todos_complete available. These members cannot be selected or removed as standalone tools.
Skills
A Skill provides task-oriented instructions, resources, and optional tools to guide how an agent performs work. For example, agw-job supplies job-management instructions and tools.
Skills come in three kinds: Built-in, Local, and Remote. Built-in Skills are provided by AGW modules, such as agw-job above. You can add Local or Remote Skills: Local uploads a package to AGW Server; Remote reads it from a URL. Choose based on who maintains the content and whether packaged resources are needed. See Tools and Skills for formats and update rules.
MCP
MCP is a protocol for connecting tool servers. After an MCP Server is configured, AGW can discover and invoke its tools, giving agents access to the capabilities it provides. See MCP servers for setup.
Plugins
A Plugin defines an integration’s capabilities and how to connect to its service, including connection methods, authentication, tool sources, and bundled Skills. For example, the GitHub Plugin defines GitHub authentication and tool capabilities.
Integrations
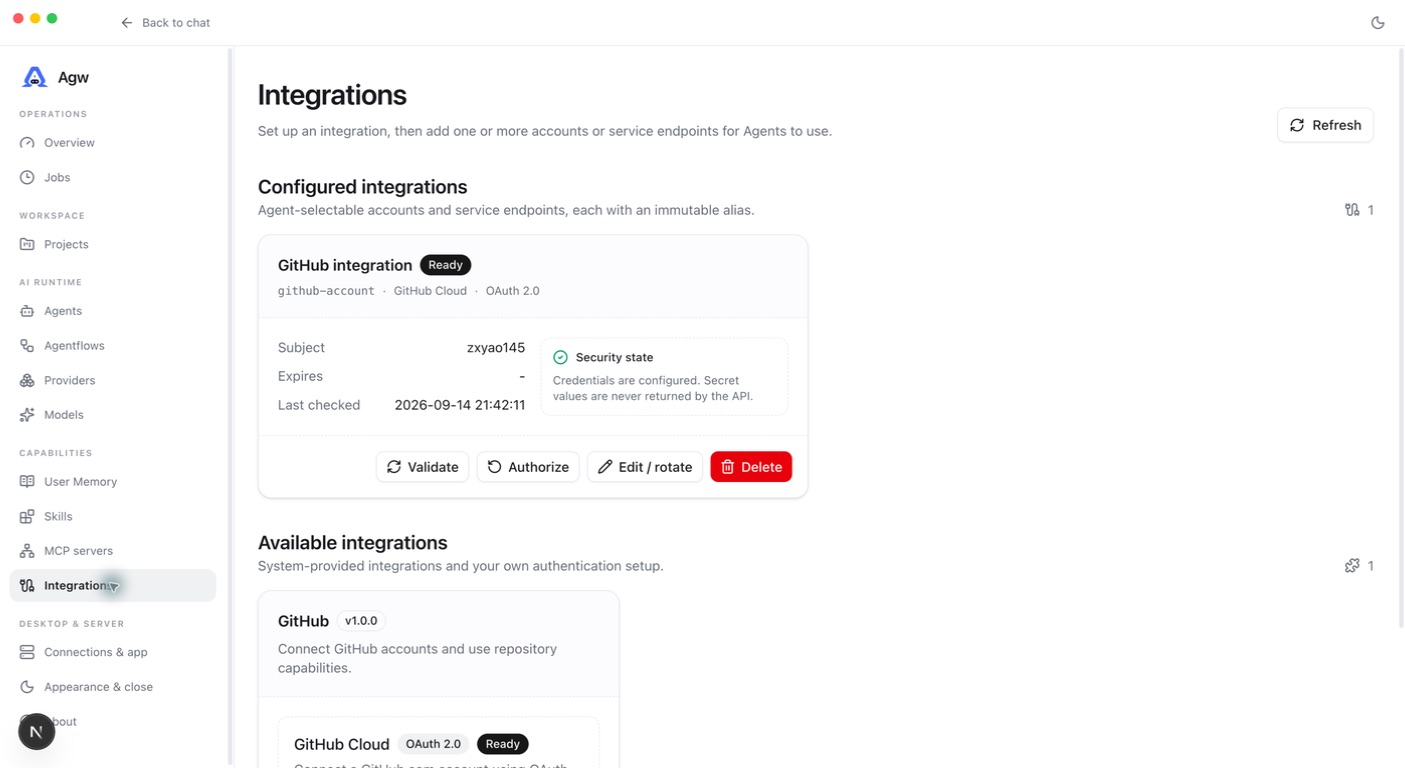
Integrations is where users select and configure external services. It has two parts:
- Available integrations: the catalog of integrations users can select and configure, such as GitHub. It presents the capabilities defined by Plugins.
- Configured integrations: specific accounts or endpoints configured by the user. The same integration can have multiple accounts, such as personal and work GitHub accounts.
Agents select specific configured integrations. Only owner-matched, Ready accounts or endpoints supply capabilities. In code, a configured integration is represented by the Connection type.
See Integrations for setup.
Agentflows and Jobs
An Agentflow determines how steps work together. It can combine agents with branching, parallel execution, and human approval nodes. For example, one agent collects material, another summarizes it, and a person approves the output.
A Job determines when to run. It triggers an agent or agentflow once, at an interval, or on a Cron schedule, recording the outcome of each attempt. A simple scheduled question can target an agent directly; select an agentflow when multiple steps are needed.
They also work independently: run an agentflow manually in Chat, or schedule a single agent with a Job. See Agentflows and Jobs.
Putting the concepts together
For a recurring project progress summary:
- Create a Project and set its working directory.
- Configure a Model Provider and create an agent to summarize progress.
- Bind the tools or configured integrations needed to read the source material.
- Run it once in Chat and confirm the result meets your needs.
- Use an Agentflow for collaboration or approval steps, and a Job for recurring execution.
For your first use, complete a simple conversation before adding more capabilities.
3 - Install and configure Server
Last updated:
AGW needs a running Server and a client to operate it. For a first local installation, choose Desktop Full. If Server already exists, use Desktop Client or a browser. After installation, configure a model service or external agent to start a conversation.
Installation paths
| Method | Best for | Key differences |
|---|---|---|
| Desktop Full | A local graphical workspace | Installs both the desktop client and Server; Server runs as a current-user background service |
| Desktop Client | Connecting to an existing Server | Installs only the desktop client, without Server; connects to a local or remote Server |
| Docker | Containerized self-hosting | Runs Server in a container with Web included; mounts provide persistent data and workspace access |
| Portable Server | Hosting directly on a machine | Runs the Server executable directly with Web included; no Docker or desktop client required |
| Source | Development and debugging | Build and run the backend and required clients yourself to modify code and debug modules |
Desktop
- Open GitHub Releases.
- Select Full or Client for your platform. Windows and Ubuntu currently support x64; macOS supports x64 and arm64.
- Complete initialization on the first Full launch, or connect Client to an existing Server.
Full and Client share an application identity and are mutually exclusive variants. Full installs a current-user Server daemon; closing Desktop does not stop it. Packages are currently unsigned and not notarized.
Docker and Portable Server
Docker images are published to ghcr.io/zxyao145/agw with each release. Portable Server is not attached to Releases; build it from the repository root, for example with PUBLISH_MODE=portable APP_VERSION=0.1.0 RIDS=linux-x64 ./publish.sh, then start agw-server serve as described in the standalone guide.
Choose a deployment approach for your needs:
- Standalone and Docker deployment: run the complete service in one Server for local trials or single-server self-hosting.
- Split Control/Data Plane deployment: run management and scheduling separately from task execution when you need independent deployment or more execution nodes. The guide covers the shared database, directories, and Nginx routing.
Configure a domain, HTTPS, and a reverse proxy for shared or remote access.
The Docker image does not include any external agents, such as Claude Code, Codex, or Pi. Install and configure them in the container yourself if needed.
Source
Follow Development setup, starting the Standalone Host before Web. The backend defaults to port 30816; Web development uses 3001.
Configure Server
Prerequisites: Server is running, database configuration is valid, and its data directory is writable. Standalone defaults to SQLite with InProcess execution.
First-run initialization
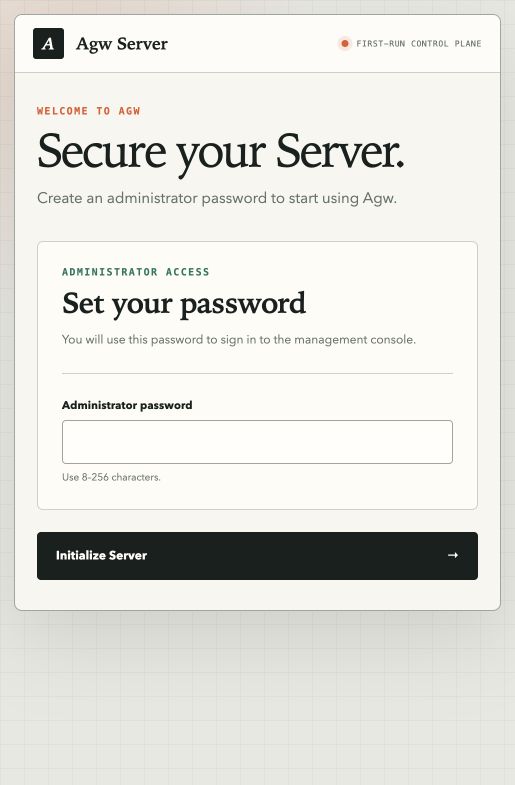
- Open the Server’s
/setuppage, such ashttp://localhost:30816/setupon the local machine. Docker and Portable Server include Web; source users can initialize the server before starting Web. - Set the administrator password. Only direct access on the Server host through
localhostor a loopback address skips the Setup Code. Access through a domain, reverse proxy, another host, or a port mapped from a Docker container also requires the one-time Setup Code from the startup log. - Submit and wait for database initialization. The application opens without another restart.
After initialization, authentication settings are saved in the database, so later starts do not repeat setup. Preserve the database and encryption keys when moving or backing up the service; see Backup and upgrades.
Connect clients
- Remote Web signs in with the administrator password and receives a session Cookie. With identity providers configured, the Web sign-in page also shows third-party account buttons. Desktop shows Sign in with … buttons below each Server in Settings → Connections & app; they sign in through the system browser and obtain an API Key automatically. See Configuration and authentication.
- Desktop, Mobile, and automation use API Keys, sent in the
Authorization: Bearer agw_...header. Plaintext is shown only once when a key is created. - Desktop Full uses the Server-owned setup page, then provisions its own API Key and protects it with the operating system credential store.
An API Key is the client’s access key to Server. To connect Desktop Client or Mobile remotely, sign in to Web, open Settings → Server access, enter a Token name under API tokens, and create an API Key. Then enter the Server URL and full key in the client. In Desktop Client, open Settings → Connections & app, click + (Add remote Server), and fill in Name, Server URL, and API token. On a phone, localhost refers to the phone, not your computer.
Unattended initialization
Inject the initial password through Setup__AdminPassword. In split deployments, initialize Control Plane only; Data Plane has no Setup page. Keep real passwords out of code and documentation.
Setup parameters cannot overwrite an initialized server. Select the database and execution mode through standard configuration before startup, not through the Setup form.
Continue with Your first conversation. If login fails, first verify that the client connects to the intended Server.
Implementation and references
4 - Start your first conversation
Last updated:
Prerequisites: initialization is complete, the management UI is accessible, and you have model provider credentials. This path creates a custom agent and does not require an external CLI.
1. Set up a model connection
Open model management and configure the three items below. The form layout may vary by client, but the information is the same.
| Setting | What to prepare | Purpose |
|---|---|---|
| Provider | The service’s protocol, API endpoint, and API key | Where AGW sends requests and how it authenticates |
| Model | The exact model ID, context window, and maximum output length | Which model to use and its content limits |
| Model Provider | A link between the model and provider | The working connection an agent selects |
Use the model ID supplied by the service. Model discovery may suggest 256,000 / 64,000 for context and output limits; replace these defaults with the model’s actual specifications. See Model providers for field details.
2. Create a simple agent
In Agents, click Create. Keep the default Agent Type System (a custom agent), enter “Question helper” as the Display Name, choose your connection in Model Provider, and enter these Instructions:
Click Create to save, then confirm that the Enabled switch is on in the Agents list. New agents are enabled by default. Start with text chat; add tools, Skills, and workflows after the connection works.
3. Send your first message
Open Chat, confirm the Server, and choose an available Project: in Desktop, use the project tabs at the top of the window; in Web, use the dropdown at the top of the left sidebar. Then choose “Question helper” in the selector at the top-left of the message box and send:
The reply should appear progressively and the execution should finish. Follow up with “Make that explanation simpler” to check that the agent can continue the discussion. This verifies both the model connection and a continuing conversation.
Next steps
Verify plain text chat before adding tools and Skills. File-based work needs a Project workspace. An existing Codex or Claude Code installation can use an external agent.
No response
Check the selected Model Provider, model ID, credentials, and endpoint, then inspect Server logs. The icon beside each conversation in the list shows its status: Running means it is still running, Last turn failed means the previous turn failed, and Last turn interrupted means the previous turn was interrupted. A conversation may also be waiting for approval or user input; handle that state in Chat. Avoid adding many tools or complex workflows before the model connection works.