Install and configure Server
Last updated:
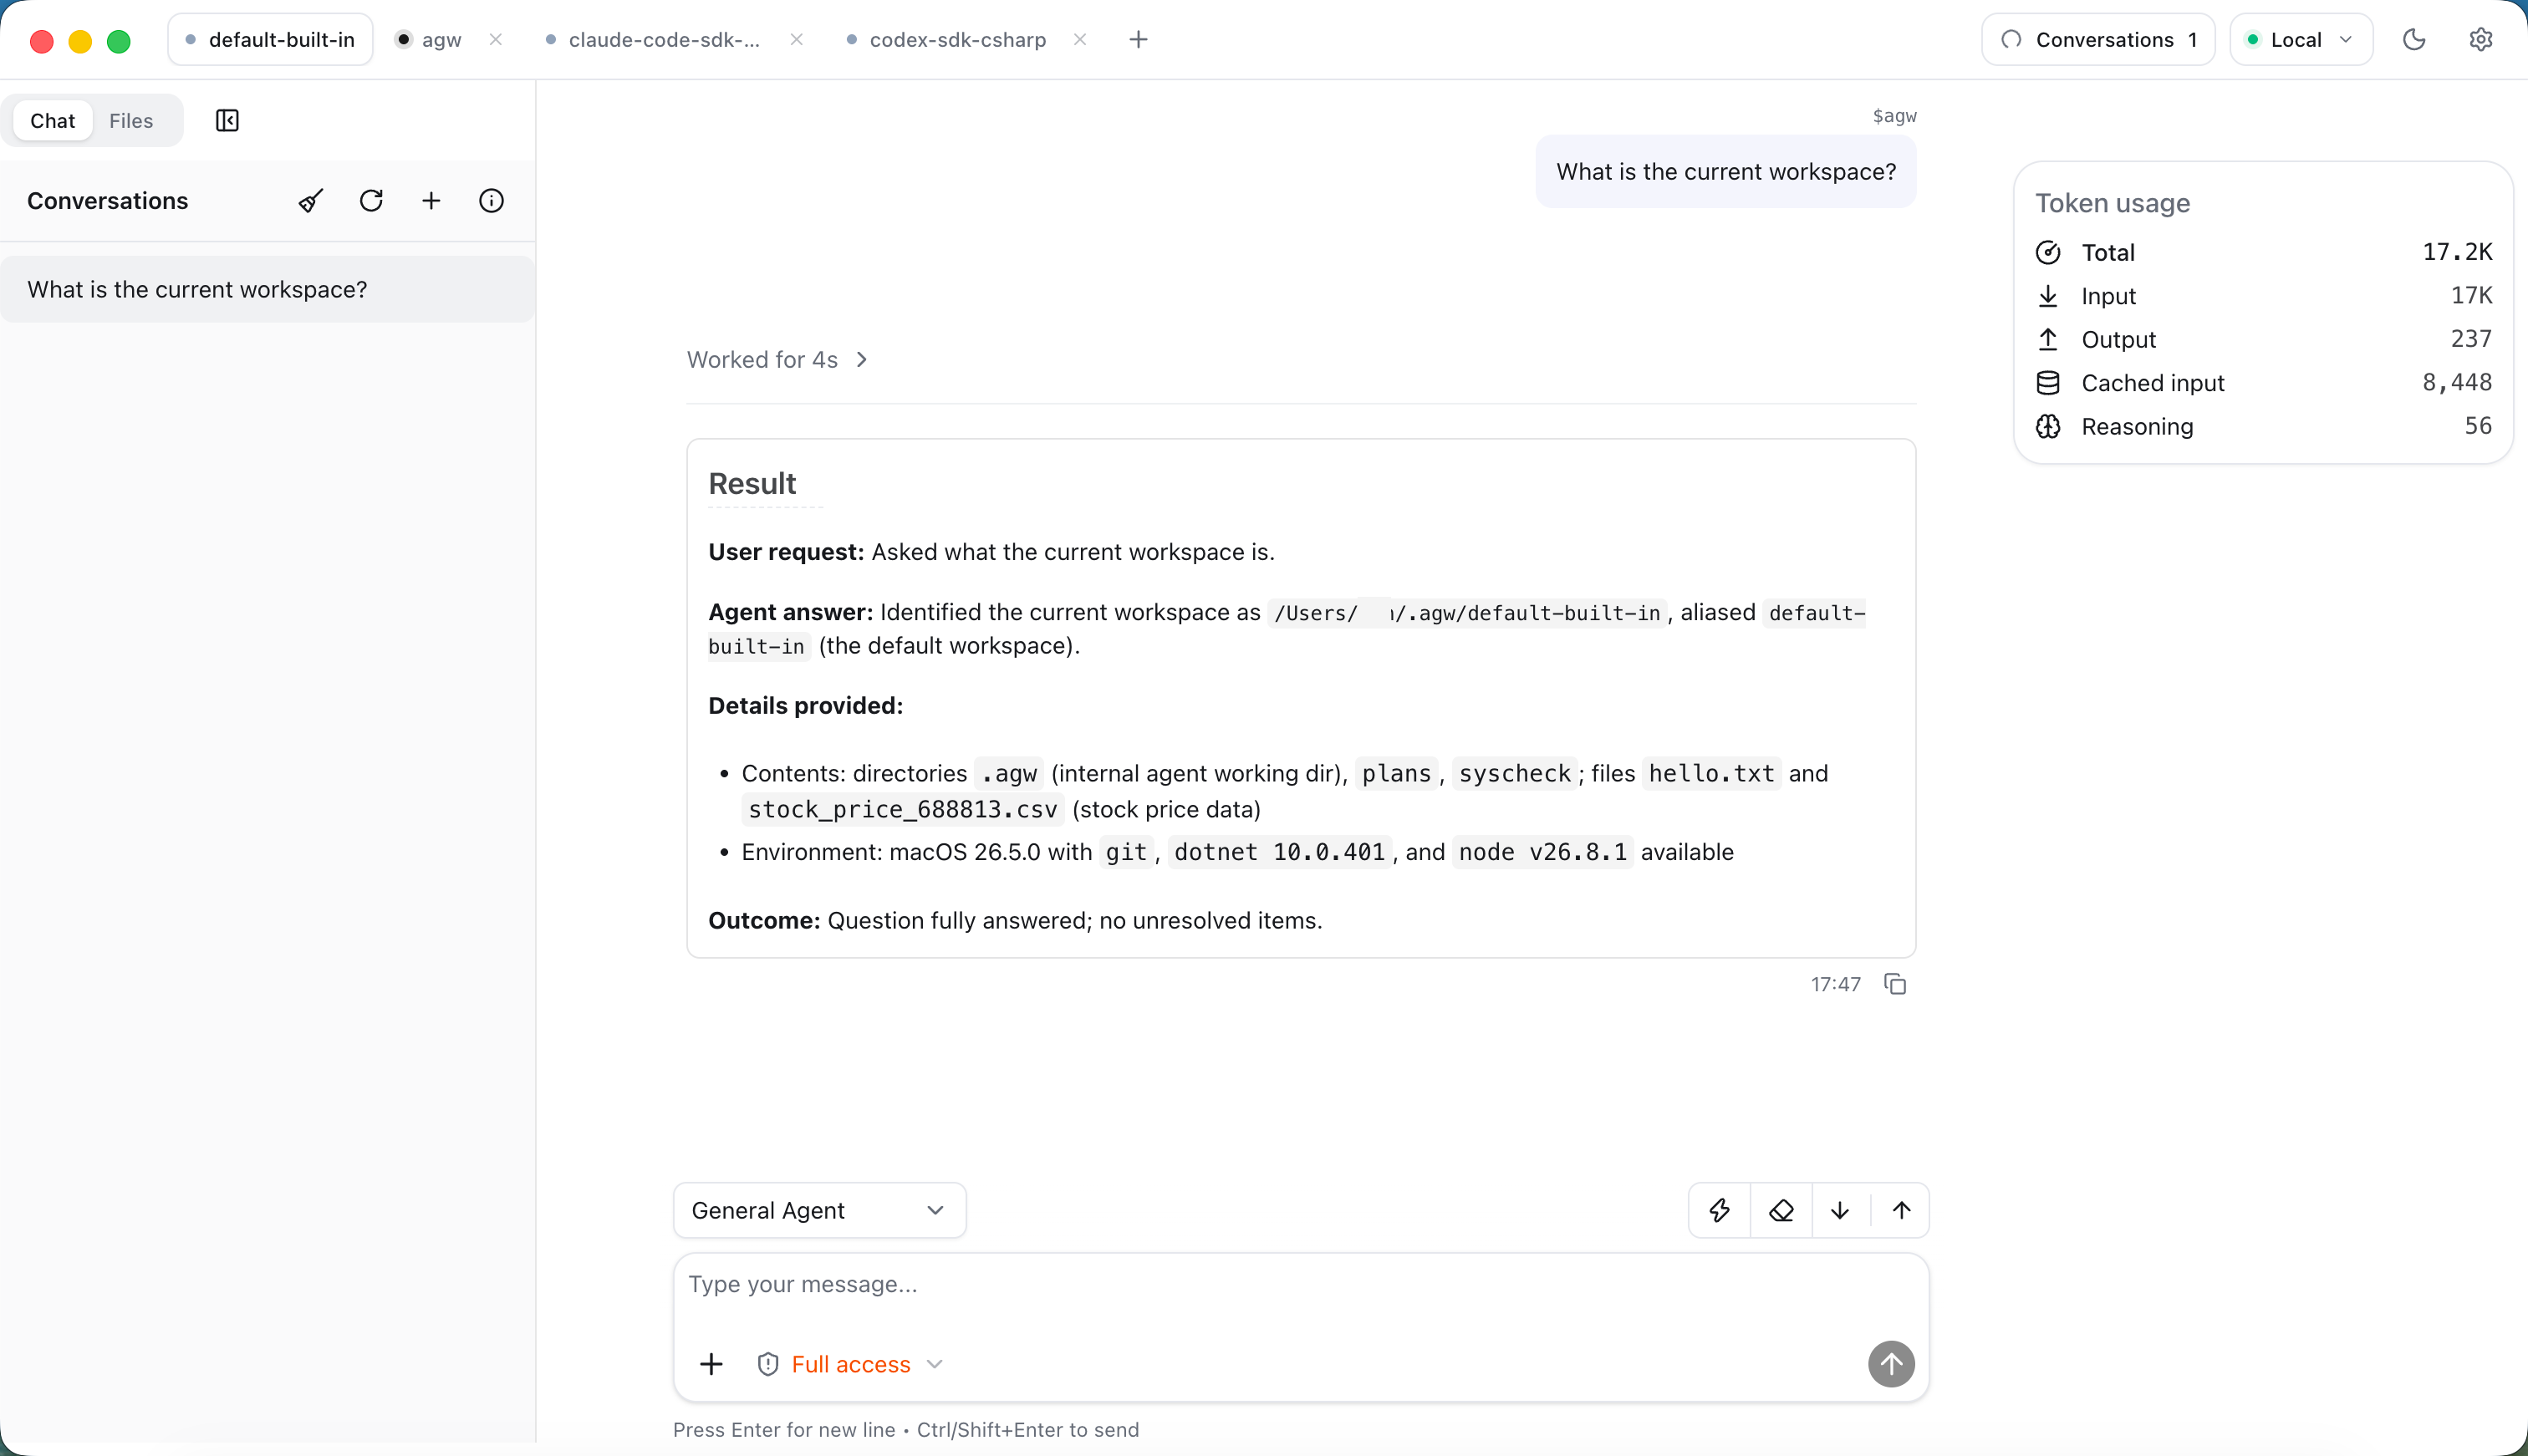
AGW needs a running Server and a client to operate it. For a first local installation, choose Desktop Full. If Server already exists, use Desktop Client or a browser. After installation, configure a model service or external agent to start a conversation.
Installation paths
| Method | Best for | Key differences |
|---|---|---|
| Desktop Full | A local graphical workspace | Installs both the desktop client and Server; Server runs as a current-user background service |
| Desktop Client | Connecting to an existing Server | Installs only the desktop client, without Server; connects to a local or remote Server |
| Docker | Containerized self-hosting | Runs Server in a container with Web included; mounts provide persistent data and workspace access |
| Portable Server | Hosting directly on a machine | Runs the Server executable directly with Web included; no Docker or desktop client required |
| Source | Development and debugging | Build and run the backend and required clients yourself to modify code and debug modules |
Desktop
- Open GitHub Releases.
- Select Full or Client for your platform. Windows and Ubuntu currently support x64; macOS supports x64 and arm64.
- Complete initialization on the first Full launch, or connect Client to an existing Server.
Full and Client share an application identity and are mutually exclusive variants. Full installs a current-user Server daemon; closing Desktop does not stop it. Packages are currently unsigned and not notarized.
Docker and Portable Server
Docker images are published to ghcr.io/zxyao145/agw with each release. Portable Server is not attached to Releases; build it from the repository root, for example with PUBLISH_MODE=portable APP_VERSION=0.1.0 RIDS=linux-x64 ./publish.sh, then start agw-server serve as described in the standalone guide.
Choose a deployment approach for your needs:
- Standalone and Docker deployment: run the complete service in one Server for local trials or single-server self-hosting.
- Split Control/Data Plane deployment: run management and scheduling separately from task execution when you need independent deployment or more execution nodes. The guide covers the shared database, directories, and Nginx routing.
Configure a domain, HTTPS, and a reverse proxy for shared or remote access.
The Docker image does not include any external agents, such as Claude Code, Codex, or Pi. Install and configure them in the container yourself if needed.
Source
Follow Development setup, starting the Standalone Host before Web. The backend defaults to port 30816; Web development uses 3001.
Configure Server
Prerequisites: Server is running, database configuration is valid, and its data directory is writable. Standalone defaults to SQLite with InProcess execution.
First-run initialization
- Open the Server’s
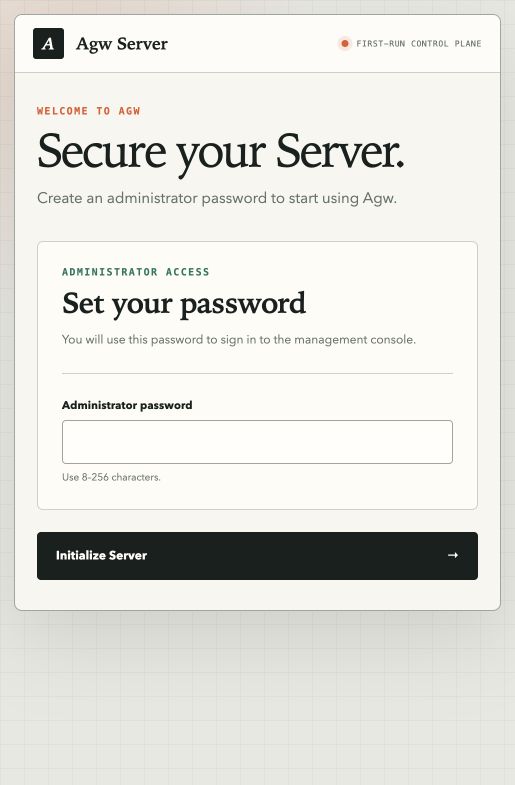
/setuppage, such ashttp://localhost:30816/setupon the local machine. Docker and Portable Server include Web; source users can initialize the server before starting Web. - Set the administrator password. Only direct access on the Server host through
localhostor a loopback address skips the Setup Code. Access through a domain, reverse proxy, another host, or a port mapped from a Docker container also requires the one-time Setup Code from the startup log. - Submit and wait for database initialization. The application opens without another restart.
After initialization, authentication settings are saved in the database, so later starts do not repeat setup. Preserve the database and encryption keys when moving or backing up the service; see Backup and upgrades.
Connect clients
- Remote Web signs in with the administrator password and receives a session Cookie. With identity providers configured, the Web sign-in page also shows third-party account buttons. Desktop shows Sign in with … buttons below each Server in Settings → Connections & app; they sign in through the system browser and obtain an API Key automatically. See Configuration and authentication.
- Desktop, Mobile, and automation use API Keys, sent in the
Authorization: Bearer agw_...header. Plaintext is shown only once when a key is created. - Desktop Full uses the Server-owned setup page, then provisions its own API Key and protects it with the operating system credential store.
An API Key is the client’s access key to Server. To connect Desktop Client or Mobile remotely, sign in to Web, open Settings → Server access, enter a Token name under API tokens, and create an API Key. Then enter the Server URL and full key in the client. In Desktop Client, open Settings → Connections & app, click + (Add remote Server), and fill in Name, Server URL, and API token. On a phone, localhost refers to the phone, not your computer.
Unattended initialization
Inject the initial password through Setup__AdminPassword. In split deployments, initialize Control Plane only; Data Plane has no Setup page. Keep real passwords out of code and documentation.
Setup parameters cannot overwrite an initialized server. Select the database and execution mode through standard configuration before startup, not through the Setup form.
Continue with Your first conversation. If login fails, first verify that the client connects to the intended Server.